
Pre-requisites
First follow Storware Backup and Recovery documentation to install backup software and run the initial configuration: Link. This Guide assumes that the Storware instance was already deployed in your environment.
Step 1: Create a bucket in Impossible Cloud
You'll need to create a bucket in your Impossible Cloud Storage console.
To use the Object Lock feature from Storware WebUI, you'll need to create a bucket with versioning and Object Lock enabled and retention disabled.
Here is a link to the Impossible Cloud Storage documentation, which includes detailed instructions and screen shots for creating a bucket with versioning and Object Lock.
Step 2: Create Object Storage - Impossible Cloud backup destination
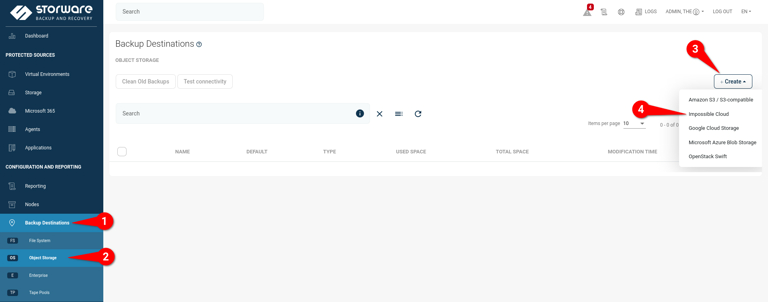
Open the Storware WebUI and go to Backup Destination > Object Storage, click Create button and choose Impossible Cloud.
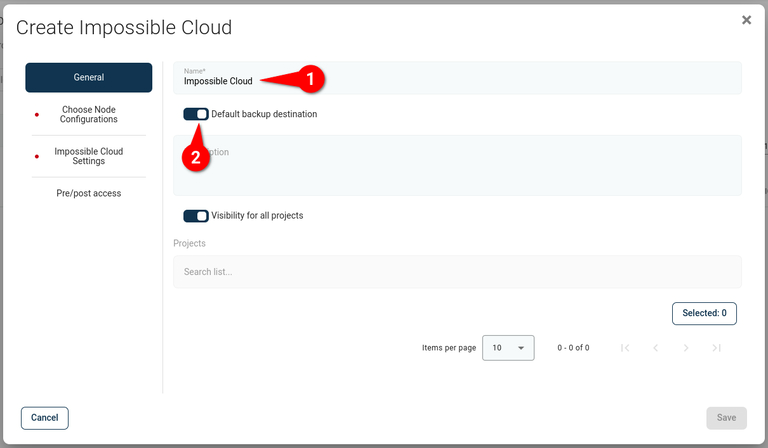
In the wizard window provide a chosen Name for the backup destination. You can also set it as a Default backup destination.
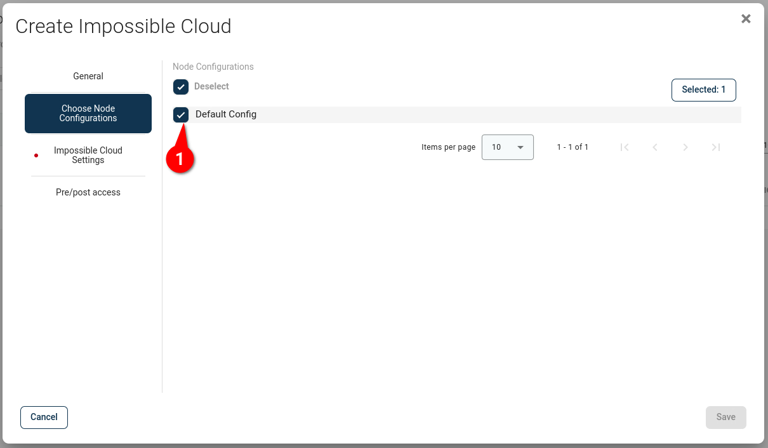
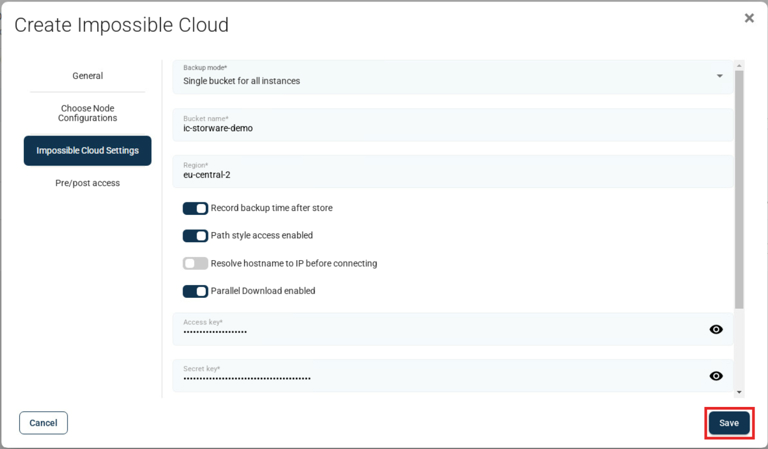
Go to the Choose Node Configuration tab and choose a proper node configuration (refer to Node Configurations in Storware documentation).
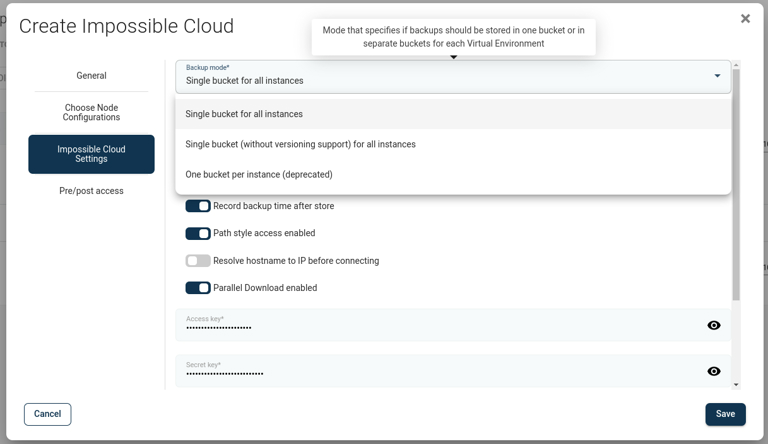
Provide the Bucket name, the Region, Access key and Secret key. Leave the other settings as default values and Save the configuration.
Conclusion
You have now successfully registered an Impossible Cloud bucket as a Backup Destination using the native integration in the Storware WebUI. Now, you can use Impossible Cloud Storage as a Backup Destination for different types of entities managed by Storware.