
Prerequisites
- An Impossible Cloud Storage account with appropriate access rights to create buckets and manage credentials
- A Xopero One Backup & Recovery account with active licenses and an active cloud or local worker
Step 1: Create a bucket in the Impossible Cloud Storage Console (ICSC)
You'll need to create a bucket in your Impossible Cloud Storage console under the root user. Use this link to the Impossible Cloud Storage documentation to learn how to create a bucket.
If you are planning to use the immutability feature in Xopero, you need to create the bucket with versioning and object lock enabled.
Step 2: Login to Xopero and add new storage
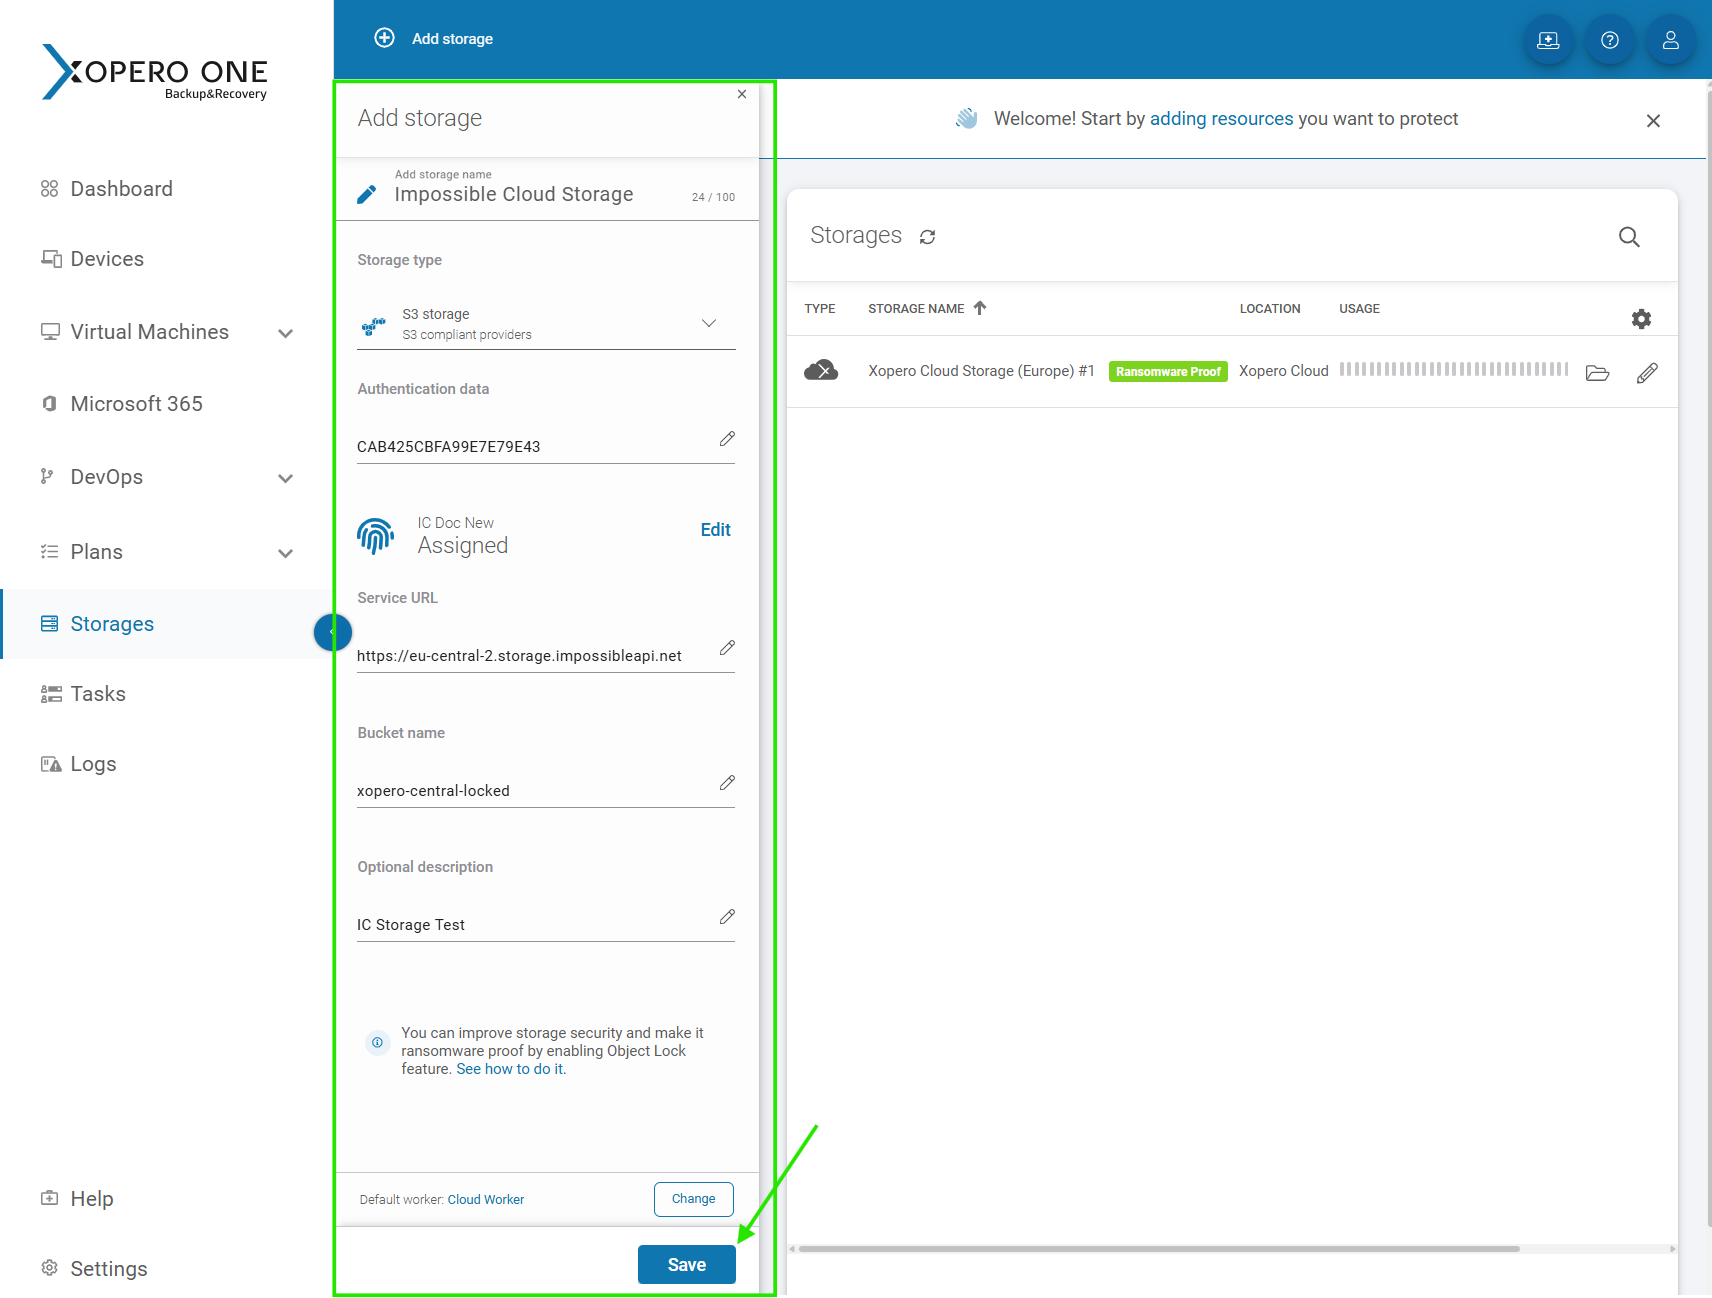
Open the ‘Storages’ tab and press Add storage’ in the top menu.

Step 3: Select S3 storage and fill in account details
Storage Type: Select ‘S3 storage’ as storage type and fill in all the required details of your Impossible Cloud Storage Account.
Access and secret key: The required access and secret key need to be generated in the Impossible Cloud Storage Console (ICSC).
Service URL: Fill in the endpoint of the region in which you have created your bucket initially under ‘service URL’. You can find a full list of all Impossible Cloud regions here.
Bucket name: Use the name of the bucket you created in step 1.
Default worker: Use the Xopero cloud worker or your local agent depending on your preference and setup.

Step 4: Finish setup and configure backup plan
You are now finished with the setup and can use the Impossible Cloud Storage as part of your backup plan. If you need more information on how to set up a backup plan, please visit the official Xopero documentation.