
Step 1: Create a bucket in Impossible Cloud Storage
You need to create a bucket in your Impossible Cloud Storage console. Here is a link to the Impossible Cloud Storage documentation, which includes detailed instructions and screenshots for creating a bucket. If you plan to use Nakivo’s immutability feature, make sure to enable versioning and object lock for the bucket. You don’t need to set a retention period at the bucket level - Nakivo will manage that automatically.
Step 2: Install Nakivo Backup and Replication
Proceed by installing Nakivo on your system. Follow the instructions to complete the installation process.
Step 3: Add new storage inventory Item
Open the Nakivo web interface, browse to Settings -> Inventory. Click '+'.
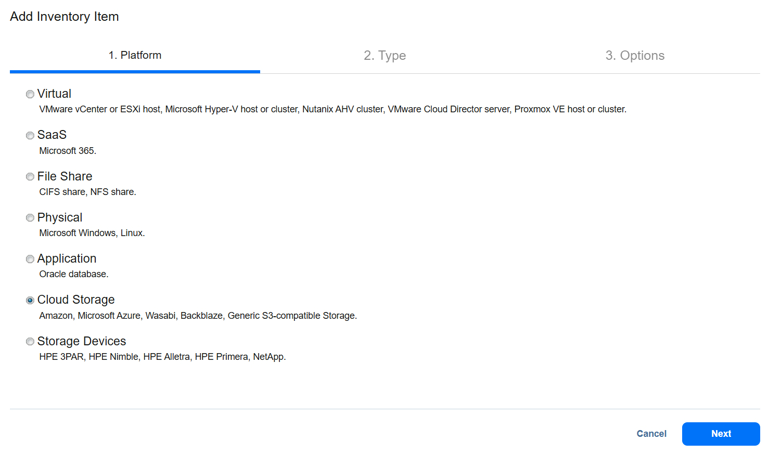
Step 4: Select platform
Select 'Cloud Storage' (Amazon, Microsoft Azure, Wasabi, Backblaze, Generic S3-compatible Storage) and click 'Next'.
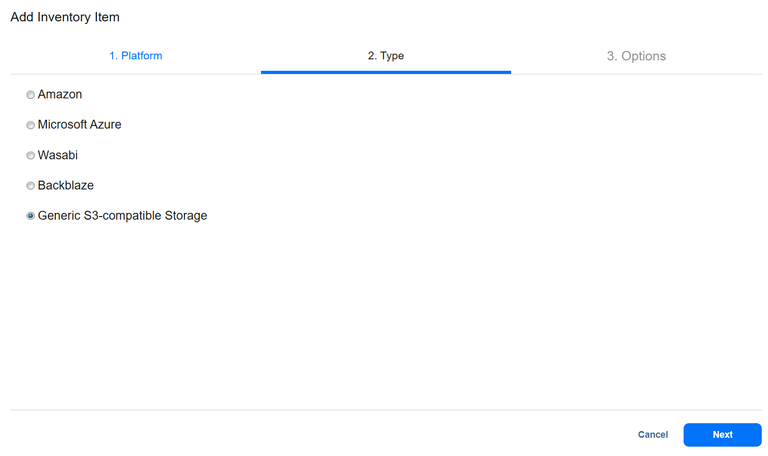
Step 5: Select the storage type
Select 'Generic S3-compatible Storage' and click 'Next'.
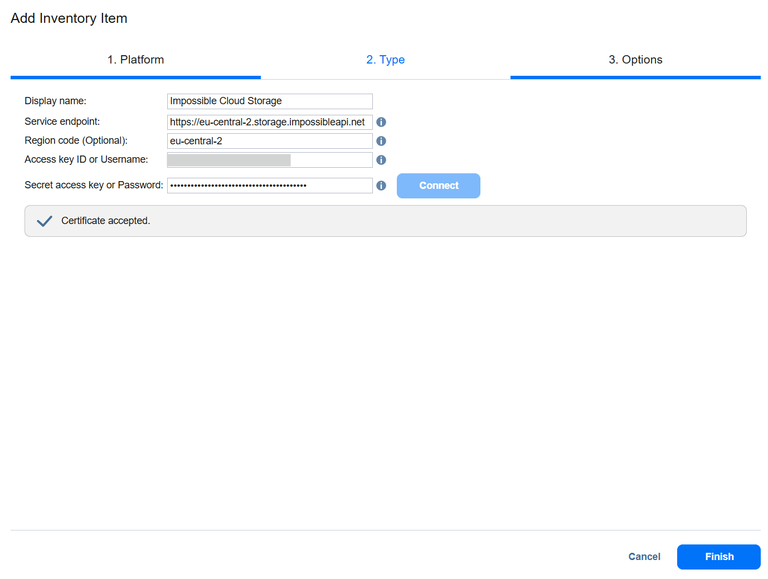
Step 6: Select the storage options
Enter the storage options and click Connect. When a pop-up with 'Certificate details' appears, click 'Accept'. Click 'Finish'.
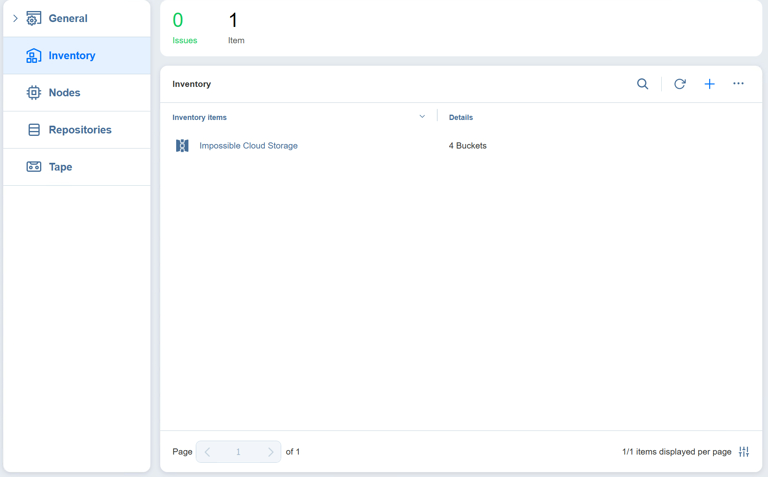
Step 7: Complete adding new inventory item
Wait until the new inventory item has been added.
Step 8: Add new Repository
Browse to Settings -> Repositories. Click "+" - > Create new backup repository.
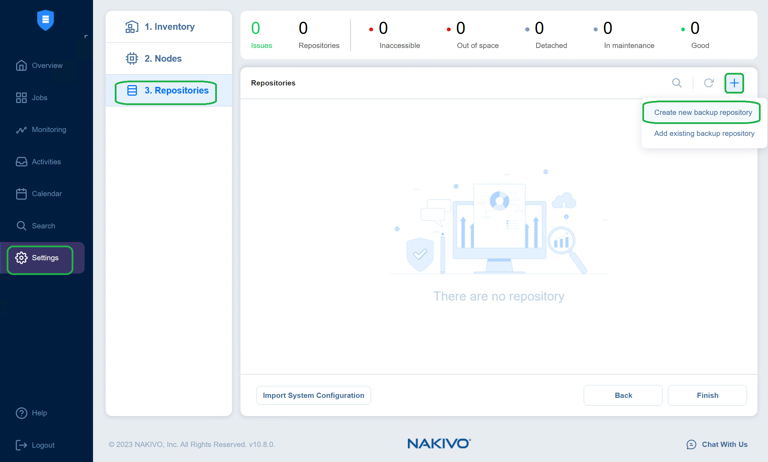
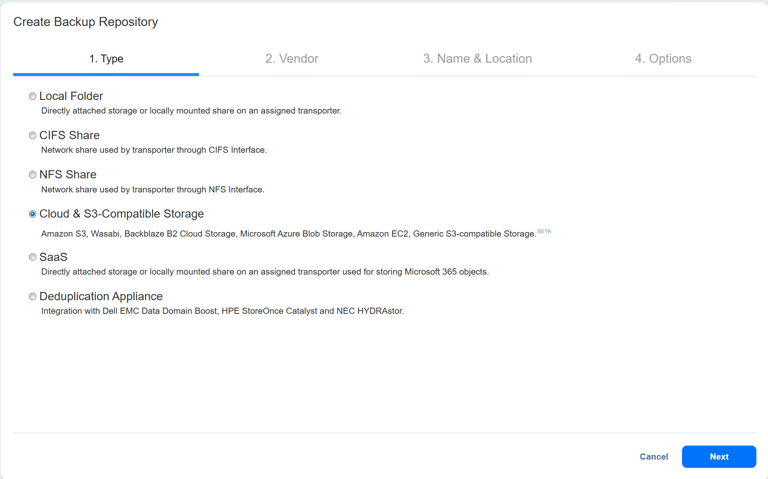
Step 9: Create New Backup Repository
Select 'Cloud & S3 compatible Storage' and click 'Next'.
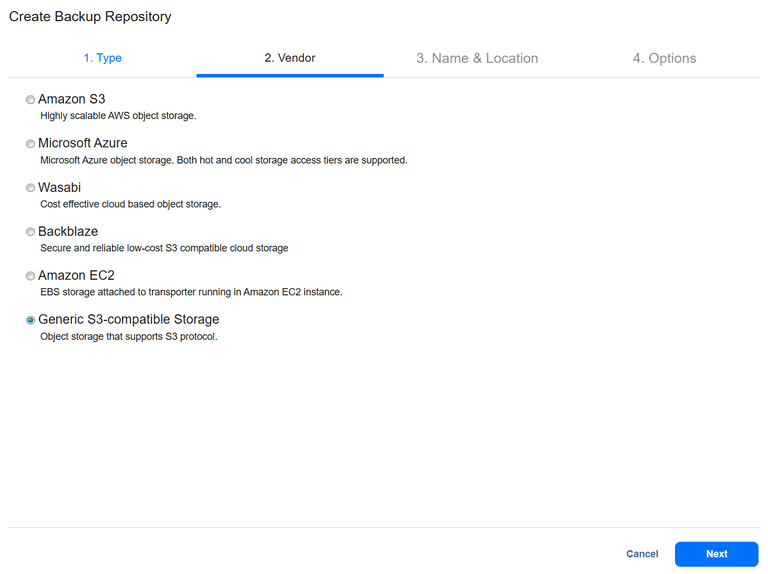
 Step 10: Select S3 compatible storage
Select "Generic S3-compatible Storage' and click 'Next'.
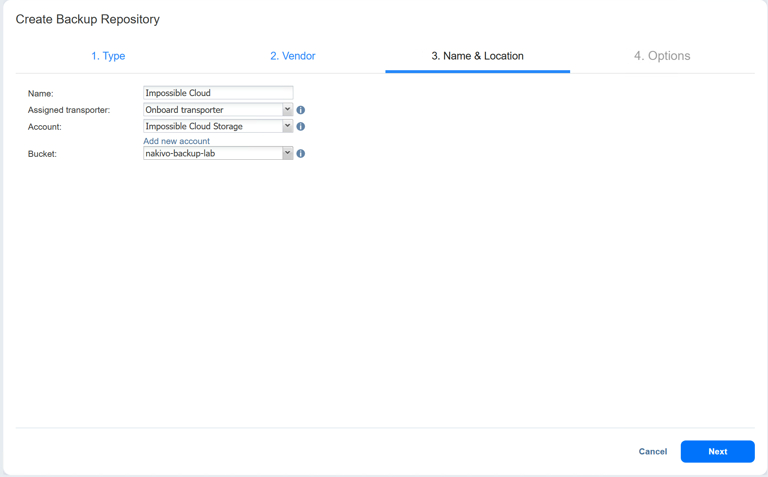
Step 11: Configure Name
Give your new repository some comprehensive name and select the inventory item you previously created from the 'Account' drop-down menu. Select a bucket for your backup data from the 'Bucket' drop-down menu and click Next.
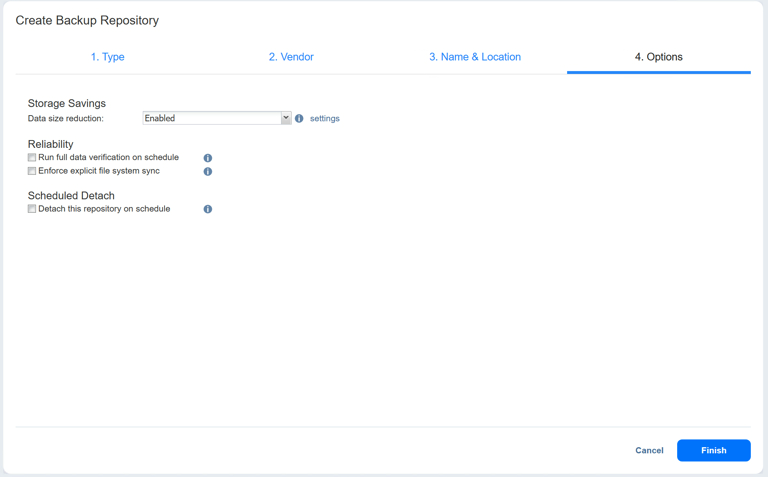
Step 12: Configure backup repository options
Configure options and click Finish.
Wait until the new backup repository has been added. You are now ready to begin backing up your data to Impossible Cloud.