
Step 1: Create a bucket in Impossible Cloud Console
You'll need to create a bucket in your Impossible Cloud Storage console.
Optionally, you can enable the Versioning feature for enhanced data protection.
Here is a link to the Impossible Cloud Storage documentation, which includes detailed instructions for creating a bucket with Versioning.
Step 2: Create a subuser and assign policy
Create a subuser, create a group and a policy, add the user to the group and assign the policy allowing access to the bucket created in Step 1. Here are links to the Impossible Cloud Storage documentation with detailed instructions:
Step 3: Install Tiger Bridge
Download and install Tiger Bridge from the official website.
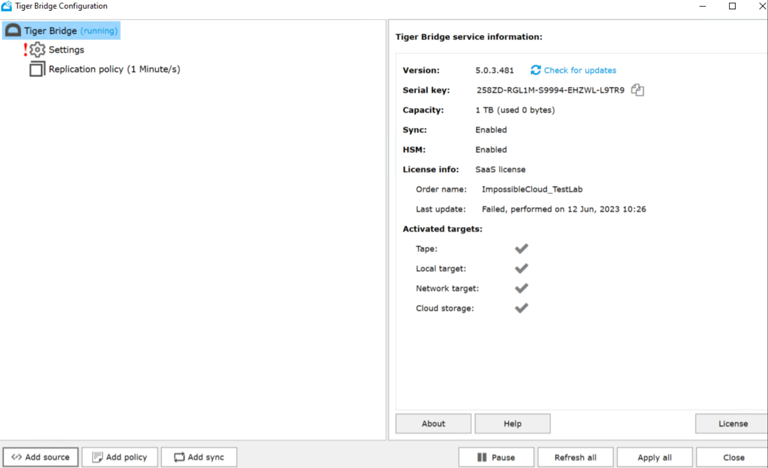
Step 4: Run Tiger Bridge and Add Source
After installation, run Tiger Bridge and add the source for your data. This will be the local directory or a network share that you want to sync with Impossible Cloud Storage.
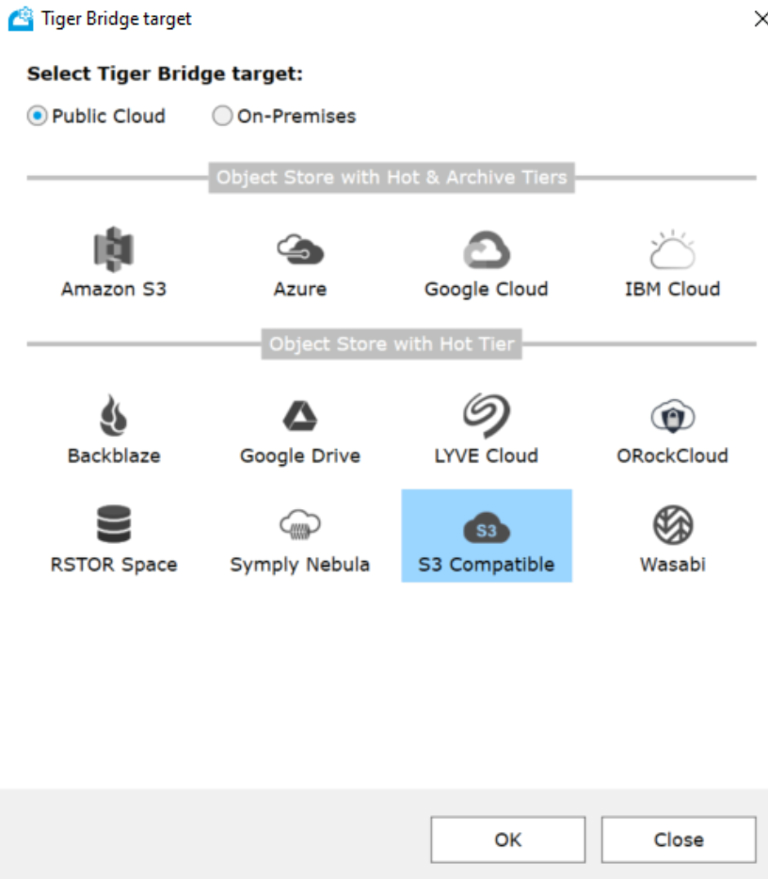
Step 5: Configure Tiger Bridge Target
5.1 Select Public cloud -> S3 Compatible
5.2 Configure the Impossible Cloud access parameters
Enter the parameters:
Server URL is the endpoint URL in Impossible Cloud, see here for our API Endpoints.
Access key and Secret key are your credentials from Impossible Cloud Storage.
Click on "List Buckets", then select the bucket you created in Step 1. It's recommended to use Signature V4.
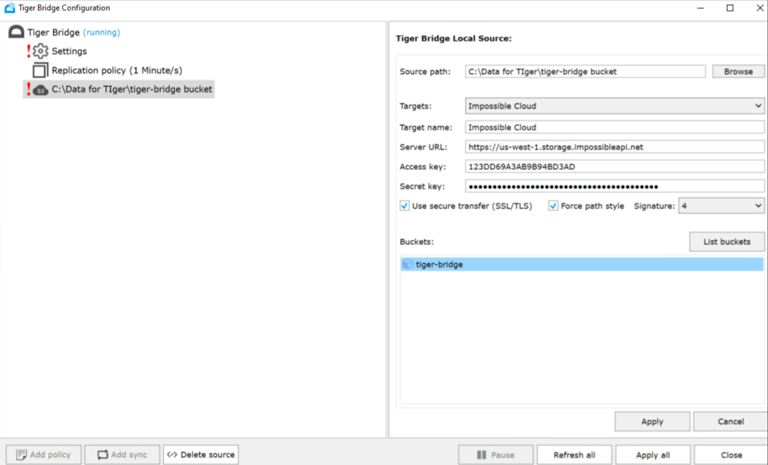
5.3 Click 'Apply'.
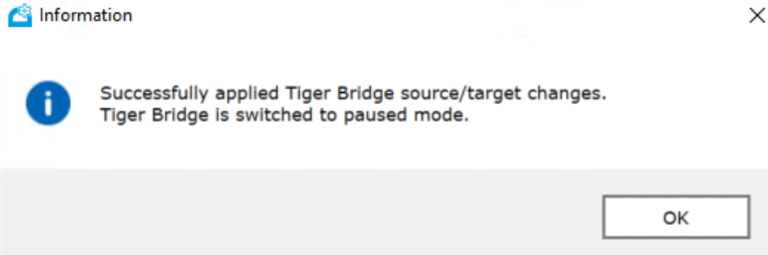
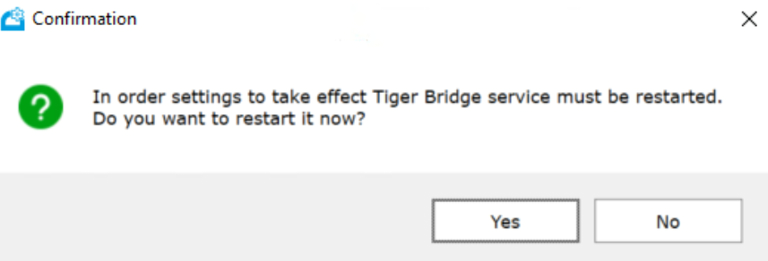
Step 6: Restart Tiger Bridge Service
After configuring the parameters and selecting the bucket, restart the Tiger Bridge Service to apply the changes.
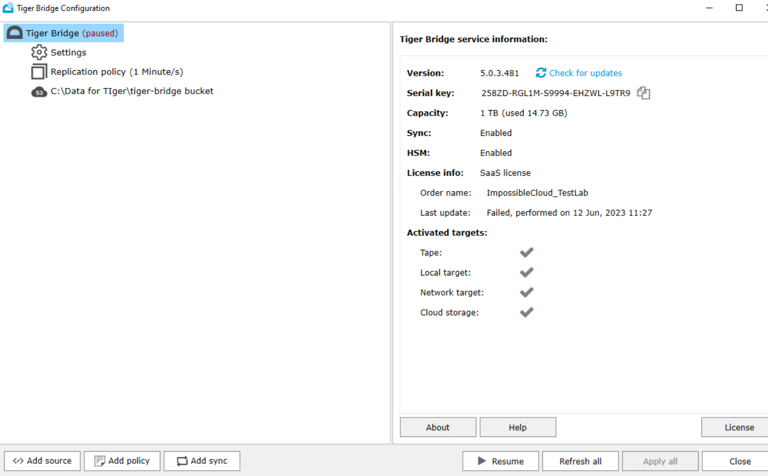
Step 7: Resume Operation
Finally, hit "Resume" in Tiger Bridge to start the operation. Your local data will now be synced with Impossible Cloud Storage.
By following these steps, you will have successfully integrated Tiger Bridge with Impossible Cloud Storage, allowing you to leverage Impossible Cloud Storage as a backup destination.